Mastering Logic Board Repair Methods: A Comprehensive Guide
Circuit boards are the backbone of modern electronics, and knowing how to repair them is a valuable skill. Whether you're a seasoned professional or a fresh face in the repair industry, understanding the intricacies of logic board repair is crucial for troubleshooting and salvaging valuable circuit boards. In this article, we'll delve into the world of logic board repair methods, exploring the tools, techniques, and best practices for successful repairs.
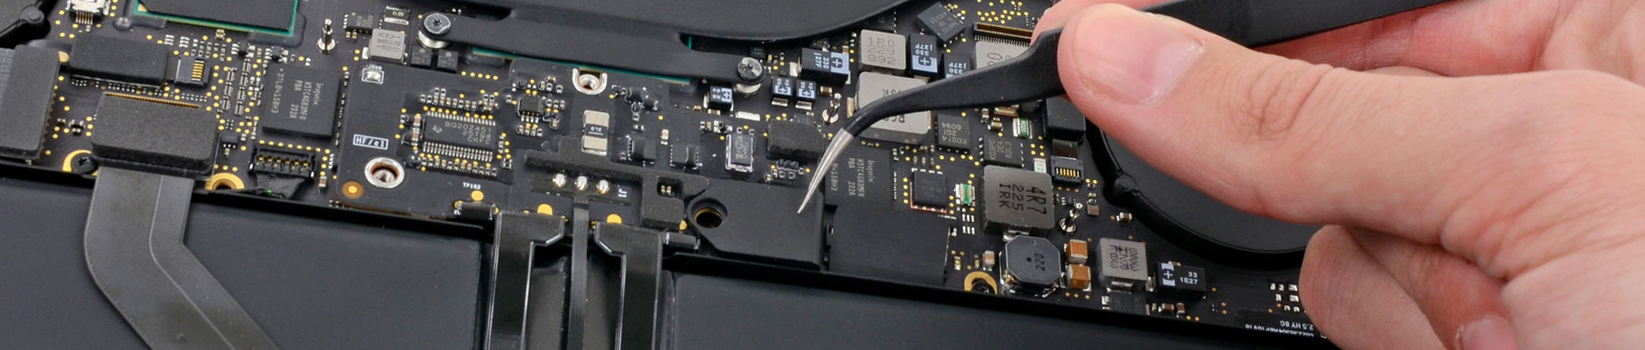
The Fundamentals of Logic Board Repair
Logic board repair involves a combination of technical expertise, patience, and attention to detail. To begin, gather relevant circuit diagrams, known good boards, and test equipment, such as a DMM, solder/desolder hand tools, an oscilloscope, and power supplies. The most helpful tool to start with is the user report of how the failure occurred or what fault was observed. This information will guide your repair process and help you identify the root cause of the issue.
Common Logic Board Repair Methods
- Soldering and Desoldering:** The art of soldering and desoldering is a critical aspect of logic board repair. Learn how to properly heat and remove components, taking care not to damage surrounding components or the board itself.
- Component Level Repair:** At the component level, you'll encounter a range of issues, from short circuits to open circuits. Identify and rectify these problems using advanced PCB repair methods, such as flying probe testing.
- Diagnostic Techniques:** Develop your diagnostic skills by using advanced test equipment, such as oscilloscopes and power supplies, to pinpoint the source of the issue.
Advanced Logic Board Repair Techniques
Take your skills to the next level by mastering advanced logic board repair techniques, including:
- Micro-Soldering:** Improve your precision and efficiency with micro-soldering techniques, ideal for intricate component-level repairs.
- Logic Board Splitting and Trace Repair:** Learn how to split and repair logic boards, streamlining your repair process and enhancing precision.
Tools and Equipment for Logic Board Repair
To succeed in logic board repair, you'll need a well-stocked toolbox and an understanding of the essential equipment required for the job. Invest in:

- Motherboard Desoldering and Soldering Station:** A reliable station for efficient soldering and desoldering operations.
- Midframe Ball Placement Platform:** A precision platform for reballing and replacing ICs.
- Tweezers and Engraving Knife:** Essential tools for precision handling and removal of components.
- Hot Air Gun and Soldering Iron:** Critical equipment for heating and soldering components.
Logic Board Repair Diagnostics and Analysis
In-depth diagnostics and analysis are crucial for successful logic board repair. Develop your skills by learning:
- Advanced Diagnostic Techniques:** Employ advanced test equipment and tools to pinpoint the source of the issue.
- Chip-Level Analysis:** Conduct detailed analysis of components and circuits to identify and rectify problems.
Best Practices for Logic Board Repair
To ensure successful repairs, follow these best practices:
- Work in a Static-Free Environment:** Prevent damage to components and the board itself by working in a controlled environment.
- Use High-Quality Tools and Equipment:** Invest in reliable and precision tools to ensure accurate and efficient repairs.
- Document and Record Your Progress:** Maintain detailed records of your repair process, including diagnostic results and component removal/ replacement.
Conclusion
Mastery of logic board repair methods requires patience, persistence, and a commitment to learning. By following the techniques and best practices outlined in this guide, you'll develop the skills and expertise necessary to succeed in this challenging and rewarding field. Remember, logic board repair is a complex and intricate process, and attention to detail is crucial for achieving successful repairs.


")


 Model A2338 for Parts or Repair - Facebook")

