Custom DNS Settings on Router: Improve Speed and Security
The Domain Name System (DNS) is a crucial part of your internet experience, allowing you to access websites and online services by converting domain names into IP addresses. However, the default DNS servers provided by your Internet Service Provider (ISP) may be slow or insecure, compromising your online performance and security. In this article, we'll explore the benefits of customizing DNS settings on your router and show you how to do it.
Why Change DNS Servers on Your Router?
By changing the DNS servers on your router, you can experience several advantages and benefits. The DNS servers are responsible for converting domain names into IP addresses, allowing your devices to access websites and online services. Most routers come with default DNS servers provided by your ISP, but you can upgrade to a better DNS server for increased speed and security.
- Improved speed: Custom DNS servers can reduce latency and improve connection stability, enhancing your online experience.
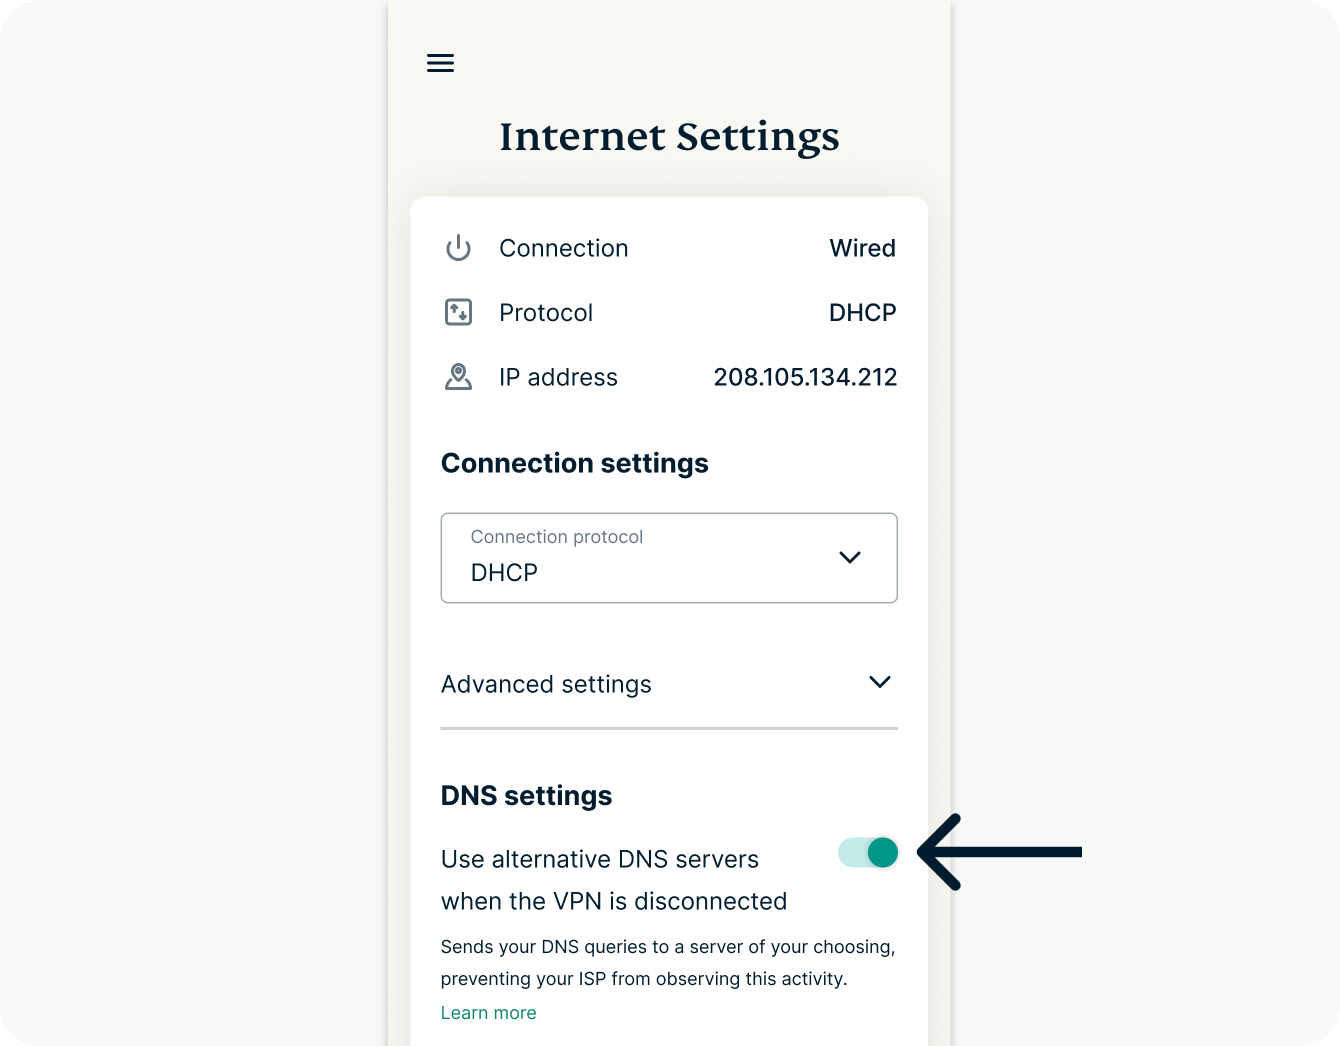
- Enhanced security: By using a secure DNS server, you can protect yourself from cyber threats and DNS leaks.
- Convenience: Changing the DNS servers on your router affects all connected devices, eliminating the need to configure each device individually.
How to Change Custom DNS Settings on Your Router
The process of changing DNS settings on your router differs depending on the manufacturer and model of your router. Here's a step-by-step guide to configure DNS settings on popular router brands:
For most routers, follow these steps:
- Log in to your router's administration panel using a web browser.
- Navigate to the DNS settings under WAN or Internet configuration.
- Replace the existing DNS addresses with your chosen provider's DNS servers.
- Save and reboot your router.
For specific instructions on popular router brands, refer to the following:
Popular Router Brands and Custom DNS Settings
- ASUS Router: Go to Advanced > Network > LAN Settings, then click Modify and enter your preferred DNS servers.
- Linksys Router: Navigate to Advanced > Management > DNS Settings and enter your chosen DNS servers.
- Netgear Router: Go to Advanced > Router Settings > LAN Settings, then click Modify and enter your preferred DNS servers.
Benefits and Drawbacks of Custom DNS Settings on Router
Customizing DNS settings on your router offers numerous benefits, including improved speed, enhanced security, and convenience. However, there are also some drawbacks to consider:
- Some routers may block or interfere with custom DNS settings.
- Advanced security settings, parental controls, or ISP-level filters may prevent proper communication with DNS servers.
- Custom DNS settings may not be compatible with certain devices or services.
Conclusion
Changing DNS servers on your router is a simple process that can significantly improve your online experience. By upgrading to a better DNS server, you can enjoy faster speeds, enhanced security, and convenience. While there may be some drawbacks to consider, the benefits of custom DNS settings on your router far outweigh the limitations. By following the steps outlined in this article, you can easily configure custom DNS settings on your router and enjoy a faster, more secure internet connection.


![How to Change DNS Servers in 2026 [Get a New DNS Address]](https://support.flashrouters.com/wp-content/uploads/2022/01/Merlin-DNS-Setup-1024x832.png "How to Change DNS Servers in 2026 [Get a New DNS Address]")


![[Wireless Router] How to manually assign WAN DNS server to ASUS router?](https://static.tp-link.com/upload/faq/image_20250208033221v.png "[Wireless Router] How to manually assign WAN DNS server to ASUS router?")


