How to Set Up a Printer on a Home Network: A Comprehensive Guide
Setting up a printer on a home network can be a daunting task, but with the right guide, you can connect your printer to your Wi-Fi or wired network with ease. In this article, we'll walk you through the process of setting up a printer on a home network, covering both wired and wireless methods.
Why Set Up a Printer on a Home Network?
A network printer is a printer that can be used by multiple computers on a home or office network. By connecting your printer to your network, you can print from any device on the network, without the need for a USB cable. This is especially useful if you have a large family or work team and need to share a printer across multiple computers.
Verifying Your Network Settings
Before setting up your printer on the network, you need to verify that your network is set to "Private". To do this:
- Check your router settings or Wi-Fi settings to see if your network is listed.
- If it is, select it and ensure that it is set to "Private".
- If not, follow the instructions to change your network settings to "Private".
Connecting Your Printer to a Wired Network
Connecting your printer to a wired network is a straightforward process:
- Connect the printer to your router using an Ethernet cable.
- Make sure the printer and router are turned on and in range of each other.
- Open the control panel on your computer and go to Devices and Printers.
- Right-click on the printer and select "Add a local printer or network printer".
- Follow the on-screen instructions to complete the setup process.
Connecting Your Printer to a Wireless Network
Connecting your printer to a wireless network is also relatively easy:
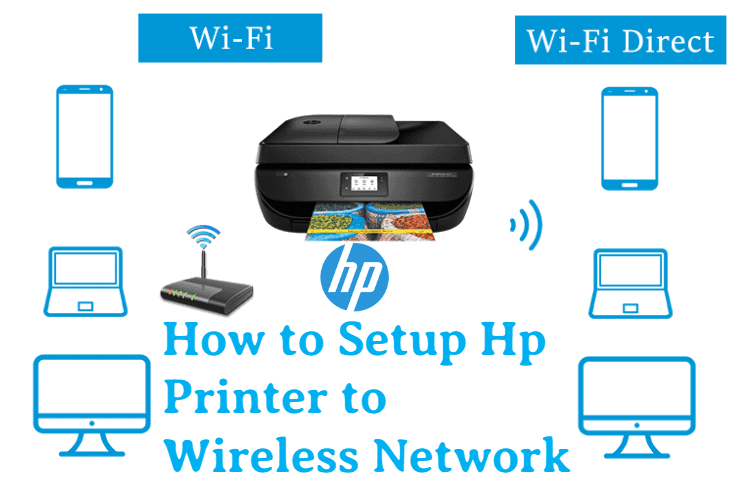
- Turn on your printer and ensure it is in range of your Wi-Fi network.
- On your printer's control panel, navigate to the wireless settings or Wi-Fi setup menu.
- Choose your network from the list of available networks and enter your network password.
- Wait for the printer to connect to the network.
Here are some additional tips to keep in mind when setting up your printer on a home network:
- Make sure your printer and network router are connected to the same network.
- Use a wired connection if possible, as it's more stable than a wireless connection.
- Update your printer's firmware regularly to ensure compatibility with your network.
- Secure your network with a strong password and keep it private.
Conclusion
Setting up a printer on a home network is a relatively straightforward process that can be completed with the right guide. By following the steps outlined in this article, you can connect your printer to your Wi-Fi or wired network and start printing from any device on your network. Remember to keep your network secure and update your printer's firmware regularly to ensure seamless printing.
Common Issues and Troubleshooting Tips
If you encounter any issues while setting up your printer on a home network, here are some common issues and troubleshooting tips:
- Printer not connecting to the network: Check that the printer and network are on the same network, and ensure the printer is turned on and in range of the network.
- Printer not recognized by the computer: Check that the printer is properly connected to the network and that the computer is recognizing the printer.
- Printer not printing: Check that the printer is properly connected to the network, and that the paper tray is filled and the printer is turned on.
Final Thoughts
Setting up a printer on a home network is a great way to share a printer across multiple devices, but it requires some proper setup and configuration. By following the steps outlined in this article, you can set up your printer on a home network and start printing from any device on your network.


 - HP")
")
")


")


 | HP® Support")