Wall Water Damage Repair: A Comprehensive Guide to Fixing Wet Walls
Water damage is a common issue that can strike any home or building, leaving walls soggy and weakened. It's essential to address the problem promptly to prevent further damage, structural issues, and potential health risks like mold growth. In this comprehensive guide, we'll walk you through the steps to repair water damaged walls effectively, so you can restore your property to its former glory.
Assessing the Damage
Before starting the repair process, it's crucial to assess the extent of the damage. Check for any signs of water leaks, swelling, or discoloration on the walls. Look for loose or dislodged drywall, and inspect the surrounding area for any stains or water spots. Take note of the source of the leak, whether it's a burst pipe, a roof leak, or a faulty appliance.
- Identify the location and reason for the leak to prevent further damage.
- Check for any signs of mold or mildew growth.
- Take photos and document the damage for insurance purposes.
Removing Affected Areas
Once you've assessed the damage, remove any affected drywall or material to prevent further damage. Use a drywall saw or utility knife to cut out the damaged area, and carefully remove any remaining drywall fragments. Be sure to wear protective gear, including gloves and a mask, to avoid exposure to mold or other airborne hazards.
- Use a drywall saw or utility knife to cut out the damaged area.
- Remove any remaining drywall fragments and debris.
- Wear protective gear, including gloves and a mask, to avoid exposure to mold or other airborne hazards.
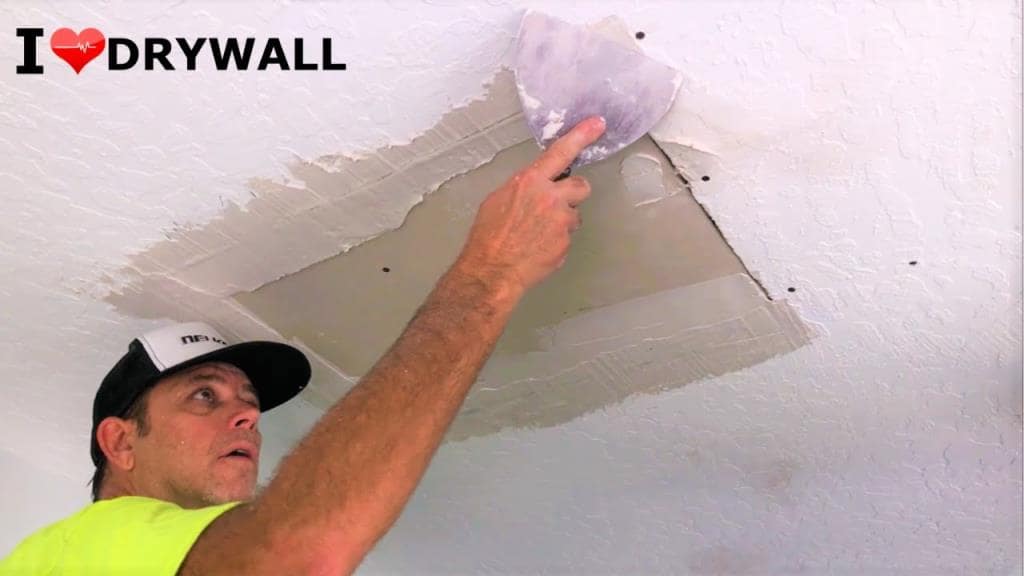
Repairing and Replacing Drywall
With the affected area removed, it's time to repair and replace the drywall. Use new drywall sheets or patches to cover the repaired area, ensuring a smooth and even finish. Apply joint compound to seal any seams or joints, and sand the area to create a smooth surface. If necessary, repaint the entire wall to match the surrounding area.
- Use new drywall sheets or patches to cover the repaired area.
- Apply joint compound to seal any seams or joints.
- Sand the area to create a smooth surface.
Preventing Future Damage
After repairing the water damaged walls, take steps to prevent future damage. Check for any signs of moisture or water leaks, and address them promptly. Inspect your home's roof, gutters, and-downspouts to ensure proper drainage. Consider installing a sump pump or French drain to redirect water away from your home's foundation.
- Check for any signs of moisture or water leaks.
- Inspect your home's roof, gutters, and-downspouts to ensure proper drainage.
- Consider installing a sump pump or French drain to redirect water away from your home's foundation.
Wall Water Damage Repair Conclusion
Repairing water damaged walls requires a combination of caution, patience, and expertise. By following the steps outlined in this guide, you can restore your property to its former glory and prevent further damage. Remember to take your time, assess the damage thoroughly, and address the underlying cause of the leak to prevent future issues.
Don't wait until it's too late – take action today to repair your water damaged walls and protect your home from further harm!
Additional Resources
For more information on wall water damage repair, consider the following resources:
- Visit the National Institute of Building Sciences for guidance on water damage prevention and repair.
- Check out the Federal Emergency Management Agency (FEMA) for tips on disaster preparedness and recovery.
- Consult with a professional contractor or restoration specialist for expert advice on wall water damage repair.


