Phone Charging Port Replacement iPhone 12: A Comprehensive Guide
"Is my iPhone 12 not charging?" If you've ever asked yourself this question, you're not alone. A faulty charging port is a common issue that can be frustrating and inconvenient. In this article, we'll walk you through the process of replacing the charging port on your iPhone 12, and provide some valuable insights on how to prevent and fix charging issues.
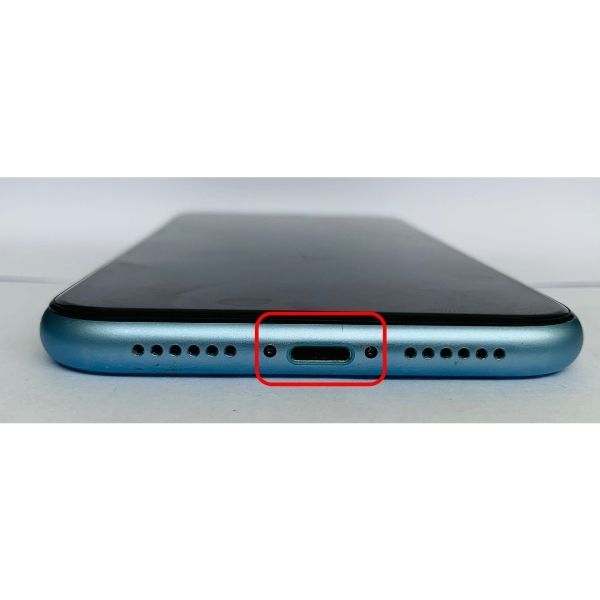
The iPhone 12 charging port, also known as the Lightning connector, is a crucial component that allows your phone to connect to a charger, computer, or accessory. If the port is damaged, loose, or faulty, it can cause a range of problems, including slow charging, intermittent charging, or a complete refusal to charge. In this article, we'll focus on the process of replacing the charging port on your iPhone 12, a process that can be completed with the right tools and expertise.
Why Replace the Charging Port on Your iPhone 12?
- Slow charging or intermittent charging issues
- Charging port is loose or damaged, causing a weak connection
- Difficulty charging the battery or recognizing the charger
- Water or dust damage has affected the charging port
Precautions Before Replacing the Charging Port
Before you start the replacement process, it's essential to take some precautions to avoid damaging your phone further:
- Make sure you have the correct tools and replacement parts for your iPhone 12 model.
- Back up your data to iCloud or iTunes before attempting the repair.
- Remove any SIM card or other components from the phone.
- Handle the phone with care to avoid further damage to the screen, casing, or other components.
Tools and Components Needed for the Replacement
- A replacement charging port (specific to your iPhone 12 model)
- A screwdriver (preferably a Phillips head screwdriver)
- A plastic spudger or similar tool for prying open the phone
- Quickington tweezers for handling small components
Step-by-Step Guide to Replacing the Charging Port on Your iPhone 12
Replacing the charging port on your iPhone 12 is a process that requires patience, care, and attention to detail. Here's a step-by-step guide to help you through the process:
Step 1: Remove the SIM Card Tray
- Locate the SIM card tray on the top right side of the phone.
- Use a paper clip or similar tool to eject the SIM card tray.
- Remove the SIM card and any other components from the tray.
Step 2: Remove the Screen and Casing
- Use a plastic spudger or similar tool to pry open the phone's casing, starting from the top edge.
- Carefully remove the screen and casing from the phone, taking note of any screws or connectors that may require attention.
Step 3: Remove the Charging Port Board
- Locate the charging port board on the phone's motherboard.
- Use a screwdriver to remove the screws holding the board in place.
- Gently pry the charging port board away from the motherboard, taking care not to damage any attached components.
Step 4: Remove the Old Charging Port
- Locate the old charging port on the charging port board.
- Use a pair of needle-nose pliers or tweezers to carefully remove the old port, taking note of the surrounding wiring and connectors.
Step 5: Install the New Charging Port
- Take the new charging port and align it with the corresponding socket on the charging port board.
- Press the new port firmly into place, ensuring it's seated properly and securely connected to the surrounding wiring and connectors.
Step 6: Reassemble the Phone
- Reattach the charging port board to the motherboard using the screws removed in step 3.
- Replace the screen and casing, ensuring all screws and connectors are securely attached.
With the new charging port installed, your iPhone 12 should be charging properly, and any charging issues should be resolved. If you're not comfortable with the replacement process, it's always best to seek the help of a professional repair service.
Conclusion: Phone Charging Port Replacement iPhone 12
Replacing the charging port on your iPhone 12 is a necessary step to resolve common charging issues. With the right tools and expertise, the process can be completed successfully, extending the lifespan of your phone and avoiding the need for an expensive replacement. Remember to take precautions, handle the phone with care, and follow the step-by-step guide to ensure a smooth and successful replacement process.
Additional Tips and Resources
For more information on phone repair, including charging port replacement, you can consult the following resources:
- Apple Support
- iFixit Repair Guides
- Phone Repair Service Providers
Additionally, you can search for specific phone repair guides, tutorials, and videos on YouTube and other online platforms to learn more about phone repair and maintenance.
Related Articles
For more information on phone repair and maintenance, you can check out the following related articles:
- Phone Screen Replacement
- Battery Replacement
- Charging Port Repair
By following the step-by-step guide and taking the necessary precautions, you can successfully replace the charging port on your iPhone 12, resolving common charging issues and extending the lifespan of your phone.
Learn from our phone repair expert at any of our convenient phone repair locations, including in Fresno CA, Guildford


")


