Lenovo Laptop Power Button Repair: A Step-by-Step Guide
If your Lenovo laptop's power button is non-operational, don't worry. This guide provides multiple solutions to troubleshoot and repair your laptop's power issues effectively. Repairing the power button may require basic DIY skills, which we'll outline in this tutorial for those attempting to fix their Lenovo IdeaPad 100.
Why is My Lenovo Laptop Power Button Not Working?
There can be numerous reasons why the power button in your laptop may have stopped functioning. From reasons that include a faulty power button board, a damaged power cord or adapter, to a loose connection or worn-out power button, it's essential to identify the root cause of the issue. In this article, we'll walk you through the troubleshooting process and provide a step-by-step guide on how to repair your Lenovo laptop power button.
Precautions and Necessary Tools
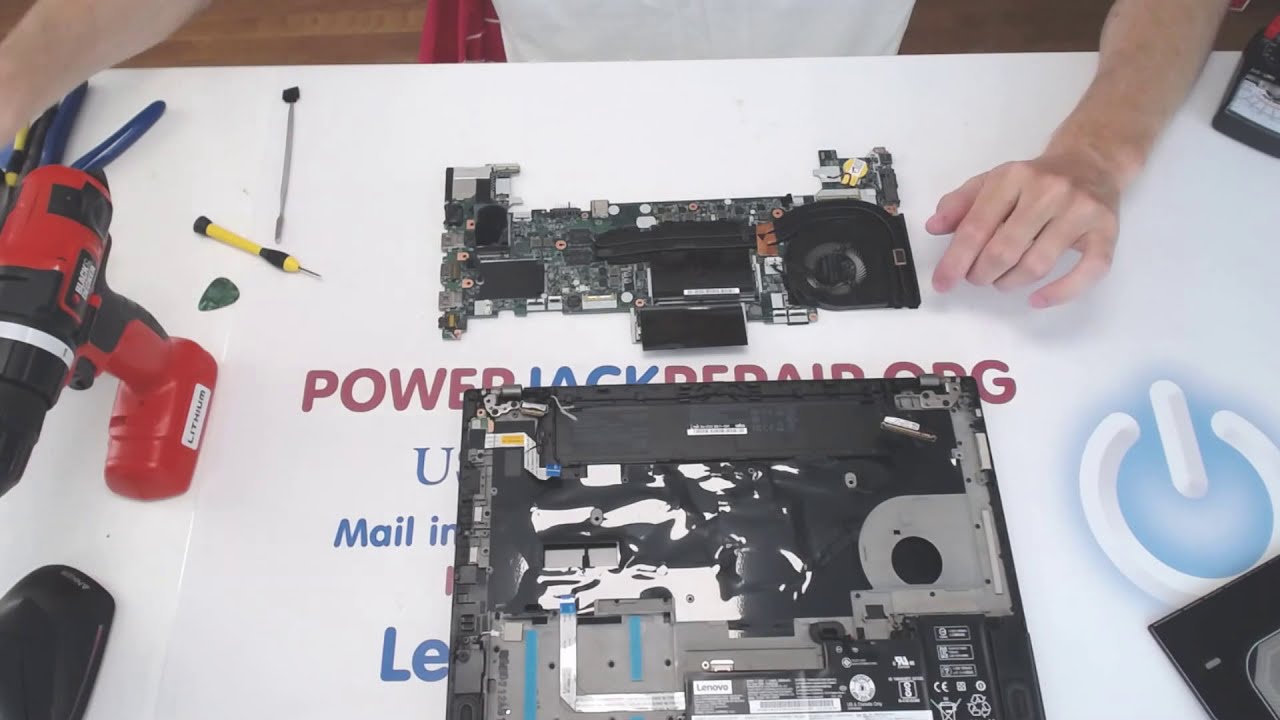
Before starting the repair process, make sure you have the following tools and equipment:
- Plastic spudger or a similar tool for prying open the laptop
- Flathead screwdriver for removing screws
- Torx screwdriver for removing Torx screws
- Power button replacement part or a similar part for testing
- Anti-static wrist strap or mat for protecting the laptop's internal components
Step 1: Power Button Troubleshooting
Try the following troubleshooting steps before attempting to repair the power button:
- Check the power cord and adapter for any signs of damage or wear. If damaged, replace it with a new one.
- Make sure the power button is clean and free from debris. Dust or dirt can cause the power button to malfunction.
- Try pressing the power button for an extended period (10-15 seconds) to wake up the laptop.
- Force restart the laptop by pressing and holding the power button for 10 seconds.
- Check the laptop's LED lights to see if they're functioning properly.
Step 2: Disassemble the Laptop

Now that you've tried the troubleshooting steps, it's time to disassemble the laptop to access the power button board:
- Remove the screws that hold the laptop's bottom panel in place.
- Carefully pry open the laptop's bottom panel using a plastic spudger or a similar tool.
- Disconnect any cables or connectors that may be in the way.
- Locate the power button board and gently lift it out of the laptop.
Step 3: Power Button Repair
Now that you've accessed the power button board, you can start the repair process:
- Inspect the power button board for any signs of damage or wear.
- Clean the power button board with a soft brush or a can of compressed air to remove any debris or dust.
- If the power button board is damaged, you may need to replace it with a new one.
- Once the power button board is repaired or replaced, reassemble the laptop in the reverse order that you disassembled it.
- Reconnect the cables and connectors that you disconnected earlier.
Conclusion
Repairing a Lenovo laptop power button can be a straightforward process if you have the necessary tools and equipment. By following the troubleshooting steps and the step-by-step guide outlined in this article, you should be able to fix your Lenovo laptop's power button issue effectively. Remember to always exercise caution when working with electrical components, and if you're unsure about any part of the process, consider seeking the help of a professional.
Additional Resources
For more information on Lenovo laptop repair, troubleshooting, and maintenance, visit the following resources:
- Lenovo Support Website: https://support.lenovo.com/
- iFixit Lenovo Laptop Repair Guides: https://www.ifixit.com/Lenovo
- Lenovo Laptop Repair Forums: https://forums.lenovo.com/