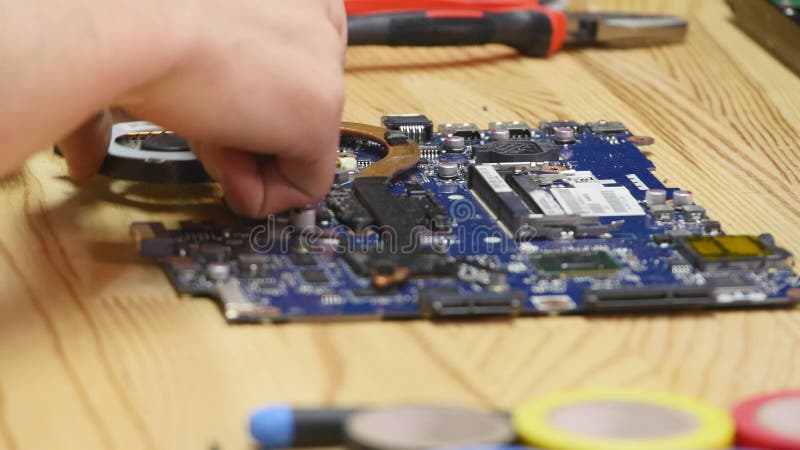
Fixing a Damaged Motherboard: A Step-by-Step Guide
Are you struggling with a computer that's on its last leg, thanks to a damaged motherboard? Don't worry, you're not alone! In this article, we'll walk you through the process of fixing a damaged motherboard, from identifying the problem to the actual repair process. We'll cover the necessary tools, techniques, and precautions to ensure a successful repair. So, let's dive in and learn how to fix that pesky motherboard!
Understanding the Motherboard
The motherboard is the backbone of a computer, connecting all other components. It's a complex piece of electronics, comprising numerous components such as capacitors, resistors, and integrated circuits. These components work together to facilitate communication between the CPU, memory, and other hardware components. When the motherboard fails, it can be due to various reasons, including physical damage, bad capacitors, or software issues.
Identifying the Issue
The first step in fixing a damaged motherboard is to identify the issue. The problem could be anything from a faulty power supply to a blown capacitor. Here are some common signs of a damaged motherboard:
- Computer won't turn on
- Computer turns on, but doesn't boot
- Blank screen or no display
- Overheating or shutdowns
- Beeping or unusual noises
Tools and Equipment Needed
To repair a damaged motherboard, you'll need some specialized tools and equipment, including:
- Multimeter
- Hot air rework station
- Flathead screwdriver
- Torx screwdriver
- Plastic spudger
- Thermal paste
- Desoldering station (optional)
Step-by-Step Repair Instructions
Step 1: Ground Yourself
Before you begin, ground yourself to prevent static electricity damage to the motherboard. This is crucial, as static electricity can cause further damage to the components.
Step 2: Identify the Damage
Visual inspect the motherboard for any visible damage, such as bulged or blown capacitors. Check for any signs of burning or melting as well.
Step 3: Identify and Repair Faulty Capacitors
Use a multimeter to test the capacitors for any damage. If a capacitor is faulty, use a hot air rework station to desolder and replace it with a new one.
Step 4: Check Power Connections
Make sure all power connections are secure and working correctly. This includes the power supply, CPU, and RAM.
Step 5: Reseat the CPU and RAM
Remove and reseat the CPU and RAM to ensure they're properly seated and connected.
Step 6: Test the Motherboard
Once you've made the necessary repairs, test the motherboard to ensure it's functioning correctly.
Common Motherboard Issues
Motherboard issues can be caused by various factors, including:
- Physical damage (drops, spills, or extreme temperatures)
- Bad capacitors or other components
- Software issues or firmware problems
- Wet or damp environments
- Prolonged usage or overheating
Conclusion
Fixing a damaged motherboard can be a challenging task, but with the right tools, techniques, and precautions, it's possible to repair or even replace the motherboard and get your computer running smoothly again.
Remember, prevention is the best way to avoid motherboard damage. Regular maintenance and proper handling of your computer can help prevent common issues and ensure a longer lifespan for your motherboard.
By following the steps outlined above, you'll be able to identify the issue, assess the damage, and repair or replace the motherboard to get your computer up and running in no time!
Additional Tips and Resources
Here are some additional tips and resources to help you with motherboard repair:
- Consult online forums and communities for specific motherboard models and issues
- Use online resources and tutorials for specific repair techniques and tools
- Practice caution and use the right tools to avoid further damage
- Consider seeking professional help if you're not comfortable with DIY repairs
Get It Now!
Find over 30,000 products at your local Micro Center, including the Motherboard Replacement Service. If you have a bad motherboard, we can replace it for you.


")


