Setting Up a Discord Server: A Step-by-Step Guide
Are you looking to create a community for your gaming group, study group, or other interests? Do you want to connect with friends and family remotely? Setting up a Discord server is a great way to achieve this! In this guide, we will walk you through the process of setting up a Discord server and explore the features and tools needed to manage it.
Why Choose Discord?
Discord has become a popular platform for community building and social interaction. With its user-friendly interface and various features, you can create a server that caters to your needs and preferences. Whether you're a gamer, a content creator, or a business owner, Discord offers a platform to connect with others and share your interests.
Step-by-Step Guide to Setting Up a Discord Server
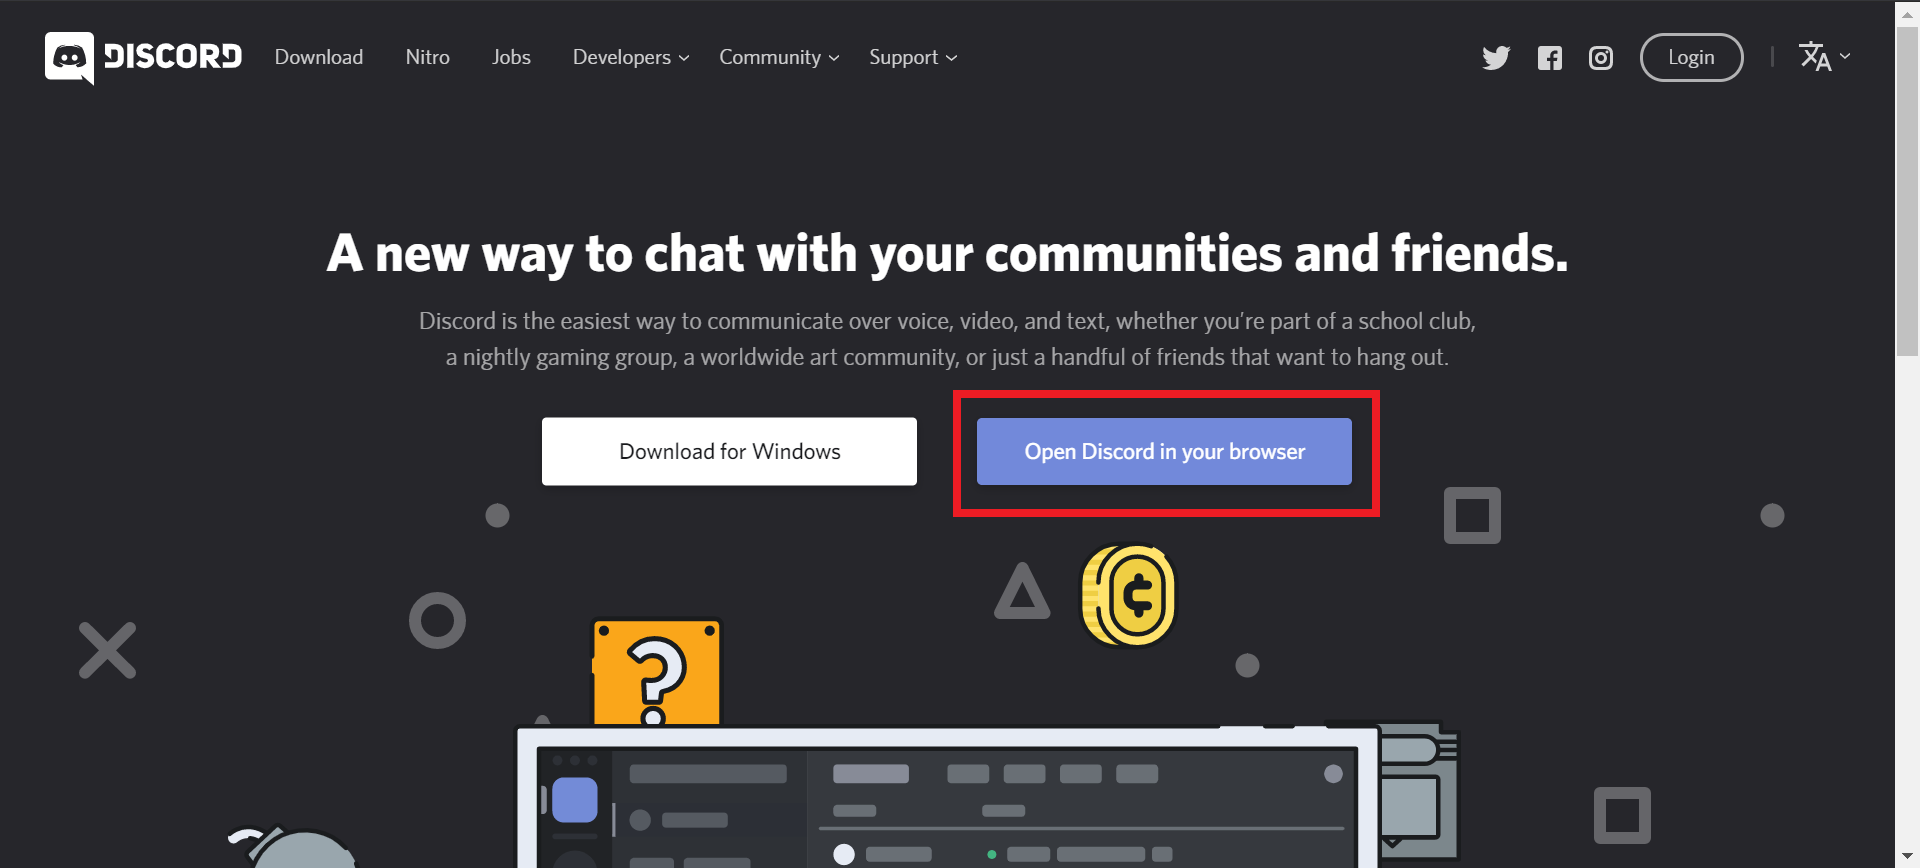
Step 1: Create an Account
The first step in setting up a Discord server is to create an account. If you haven't already, download the Discord app and create an account. You can do this by providing basic information like your email address and password. Make sure to use a strong and unique password to secure your account.
Step 2: Create a Server
Once you have an account, click the "+" icon on the left-hand side and select "Create a Server." You will then be prompted to choose a server name, which should reflect the community or group you are creating the server for. This will be your server's identity and logo.
Step 3: Customize Channels and Roles
After creating your server, you can add channels to categorize your conversations. Discord allows you to create various types of channels, including text channels, voice channels, and channels for specific activities like game streaming or announcements. You can also assign roles to create a hierarchical structure for your community.
Step 4: Add Bots and Plugins
Bots and plugins can help simplify the job of managing a server by automating tasks and moderating user behavior. You can add bots to perform tasks like welcoming new members, managing chat, and answering frequently asked questions. This will help you focus on growing and moderating your community.
Step 5: Set Up Server Settings
Now that you have set up your server, it's essential to configure your server settings. You can control user roles, permissions, and security settings to ensure that your server runs smoothly and is secure. This includes setting up features like MFA (Multi-Factor Authentication) to protect your account and server from unauthorized access.
Step 6: Grow Your Community
With your server set up, it's time to focus on growing your community. Promote your server through social media, forums, and other channels to attract new members. Regularly update your server with fresh content, engage with your community, and encourage participation to build a thriving community.
Setting Up a Discord Server: Tips and Tricks
Here are some expert tips and tricks to help you set up and manage your Discord server:
- Use clear and descriptive names for your channels and roles. This will help new members navigate and understand your server.
- Use bots and plugins to automate tasks and moderate user behavior. This will save you time and effort as your community grows.
- Regularly update your server with fresh content and engage with your community. This will keep your members engaged and interested in the server.
- Set up security features like MFA and password-protected channels to protect your server and account. This will prevent unauthorized access and keep your community secure.
Conclusion
Setting up a Discord server is a straightforward process that requires some time and effort. By following this guide, you can create a server that meets your needs and preferences. With the right setup, you can build a thriving community that connects with others and shares your passions. Happy hosting!


 - flat.social")


 - YouTube")