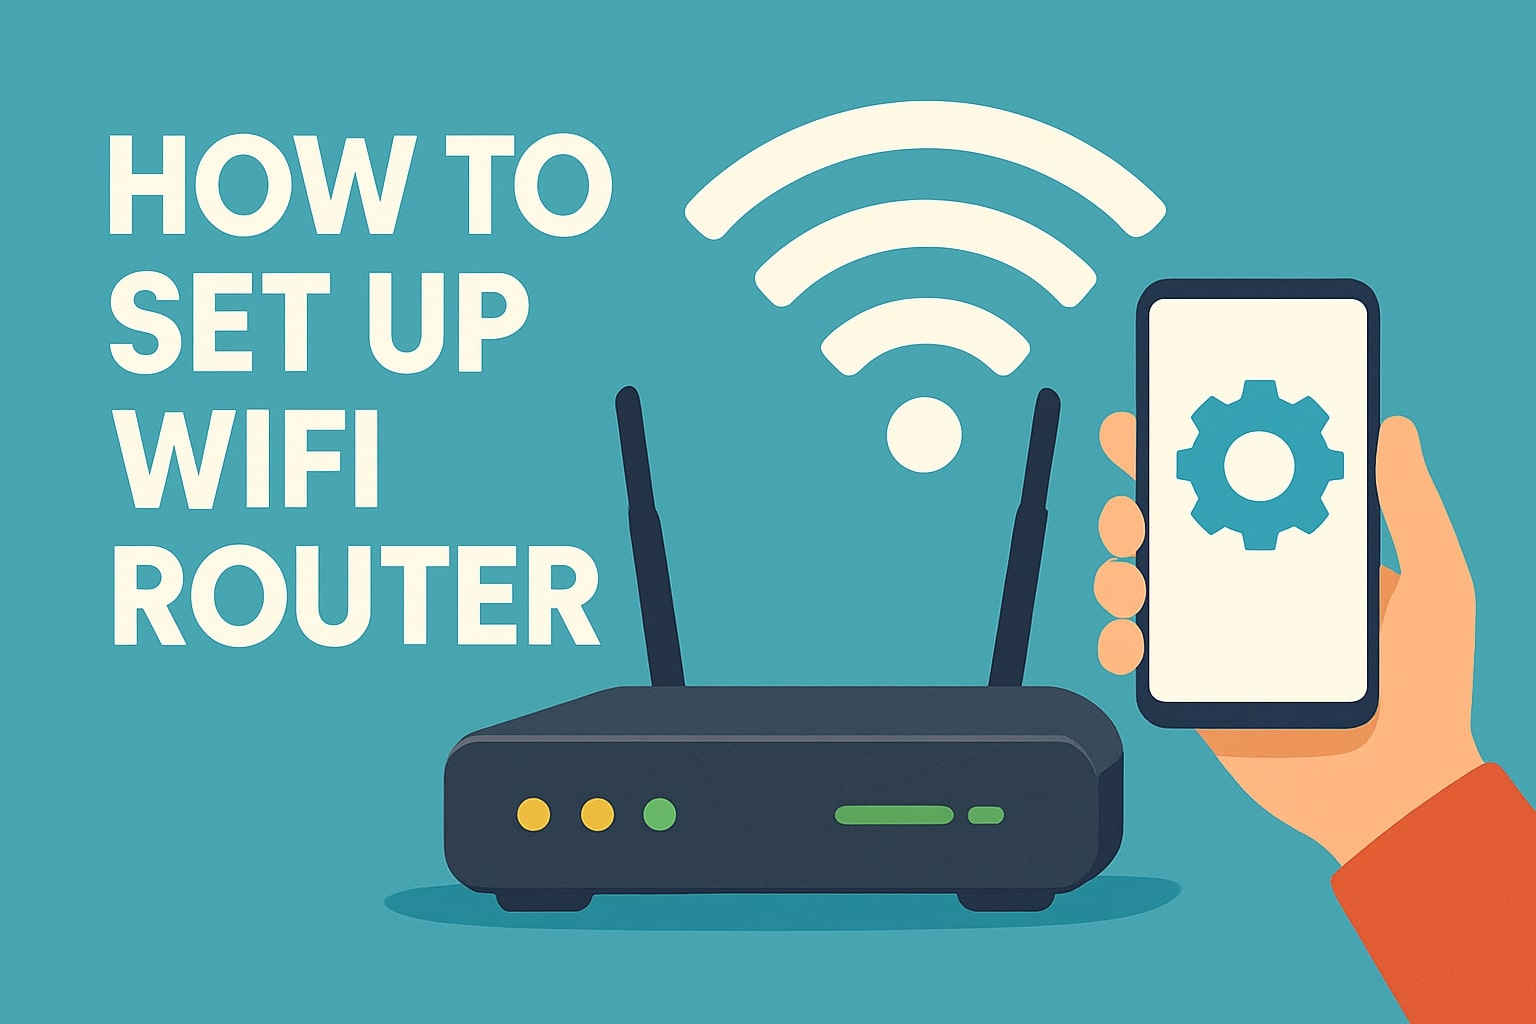
Router Setup Procedure: A Step-by-Step Guide
Setting up a new router can be a daunting task, especially for those who are not tech-savvy. However, with the right guidance, it can be a straightforward process. In this article, we will walk you through a step-by-step router setup procedure to help you get started with your new wireless network.
Step 1: Unboxing and Preparation
First, carefully unpack your new router and modem from their boxes. Make sure all the necessary cables and accessories are included. Check the router's documentation to ensure you understand the different parts and their functions.
- Unbox your router and modem
- Check the router's documentation
- Make sure all necessary cables and accessories are included
Step 2: Physical Connections
Next, connect your modem to the router using an Ethernet cable. This cable should be connected to the WAN or Internet port on the router. Make sure it is securely plugged in to ensure a stable connection.
- Connect your modem to the router using an Ethernet cable
- Connect the other end of the Ethernet cable to your modem
- Ensure the connection is secure and stable
Step 3: Power-Up Procedures
Now, plug in the power adapter to the router and turn it on. Allow the router to boot up completely, which may take a few minutes. During this time, the router will perform its initial setup and configuration.
- Plug in the power adapter to the router
- Turn on the router
- Allow the router to boot up completely
Step 4: Configuring the Router
Step 4: Configuring the Router
Once the router is fully booted up, you can access its configuration settings. This is usually done by opening a web browser and typing in the router's IP address, which is usually printed on the underside of the router or in its documentation. Log in to the router using the default admin username and password, which are also printed on the router or in its documentation.
- Open a web browser and type in the router's IP address
- Log in to the router using the default admin username and password
- Change the admin username and password for security reasons
Step 5: Wireless Settings
Next, configure the wireless settings on your router. This includes setting the wireless network name (SSID), wireless password, and other advanced settings such as channel width and encryption method.
- Set the wireless network name (SSID)
- Set the wireless password
- Configure other advanced wireless settings such as channel width and encryption method
Step 6: Security Settings
Now, configure the security settings on your router. This includes setting up WPA2 encryption, firewall settings, and other security features to protect your network from unauthorized access.
- Set up WPA2 encryption
- Configure firewall settings
- Other security settings such as MAC address filtering and parental controls
Step 7: Final Check
Finally, perform a final check to ensure that your router is functioning properly and that all settings are correctly configured. This includes checking the wireless signal strength, network connectivity, and other advanced settings.
- Check the wireless signal strength
- Check network connectivity
- Other advanced settings such as Quality of Service (QoS) and traffic shaping
By following these steps, you can successfully set up your router and enjoy a fast and reliable internet connection. Remember to regularly update your router's firmware and employ security measures to keep your network protected.
Additional Tips and Considerations
Here are some additional tips and considerations to keep in mind when setting up your router:
- Choose a location for your router that is central to your home and has a clear line of sight to all devices on the network.
- Use a strong and unique password for your router's admin account and wireless network.
- Regularly update your router's firmware to ensure you have the latest security patches and features.
- Use Quality of Service (QoS) settings to prioritize traffic for critical applications and devices.
- Consider using a mesh network system for better coverage and performance.

 - LazyAdmin")
 - HP")


")


